Viair Onboard Air Hookup Kit Manuel d'utilisateur
Naviguer en ligne ou télécharger Manuel d'utilisateur pour Pour la voiture Viair Onboard Air Hookup Kit. VIAIR Onboard Air Hookup Kit User Manual Manuel d'utilisatio
- Page / 10
- Table des matières
- DEPANNAGE
- MARQUE LIVRES
Résumé du contenu
IMPORTANT:It is essential that you and any other operator of this product read and understand the contents of this manual before installing and using
LIMITED WARRANTY:VIAIR Corporation warrants this product, when properly installed and under normal conditions of use, to be free from defects in workm
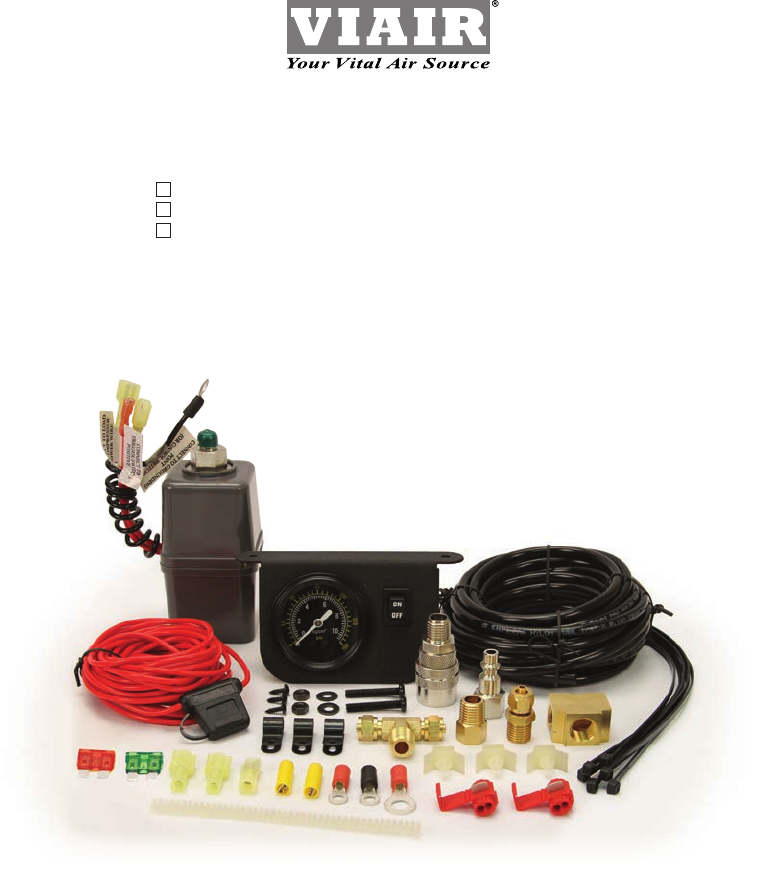
PARTS LIST:A. Illuminated Dash Panel Gauge with On/Off Switch (1pc)B. 20Ft. Air Line Tubing (1pc)C. Pressure Switch with Built-in Relay (1pc)D.
INSTALLATION INSTRUCTIONS:CHECK FOR CORRECT ONBOARD AIR HOOKUP KIT: Onboard Air Hookup Kits have been designed for use with our 200, 300, and 400 seri
STEP BY STEP INSTALLATION:1. Select a mounting location with a rigid mounting surface such as the bottom edge of the dashboard, on either side of
ONBOARD AIR HOOKUP KIT6. Route air line to the male tee, measure and cut to appropriate length. Connect air line to one leg of the male tee as s
13. Connect to air compressor is simple and easy with the Quick Connect Coupler by applying the 1/4” (NPT) Female Quick Connect Stud at the end
Air Fittings Leak 1. Loose tting connections2. Air line tubing not published all the way or cut squarely1. Check connections with soap
Fig. 1Fig. 2ONBOARD AIR HOOKUP KITUSER MANUALDash Panel GaugeCompressionFitting BodyCompressionFitting CollarAir LineQuick SpliceConnector(Open)Wire F
ONBOARD AIR HOOKUP KITUSER MANUALFig. 3Fig. 4To GroundRelayAirLineAirLineAir TankCompressorDrain CockCompressionFittingPressureSwitchExtensionLead Wir
Commentaires sur ces manuels
© 2020, manymanuals.fr. Tous droits réservés | 6.255 s |
 Manymanuals.com
 Manymanuals.de
 Manymanuals.fr
 Manymanuals.it
 Manymanuals.pl
 Manymanuals.cz
 Manymanuals.es
 Manymanuals-pt.com
Hello, im noob :)